Molding and casting

For this week's assignment we had to do molding and casting, I really enjoyed the process as I think it has really interesting translations from the definition of a model to what a machine can do with it's limitations.
I started with some ideas about topography as I am interested in learning how to use GIS and other geographical information systems, I also wanted to learn a little bit of blender so I decided to make the topography of my hometown Zimapan.
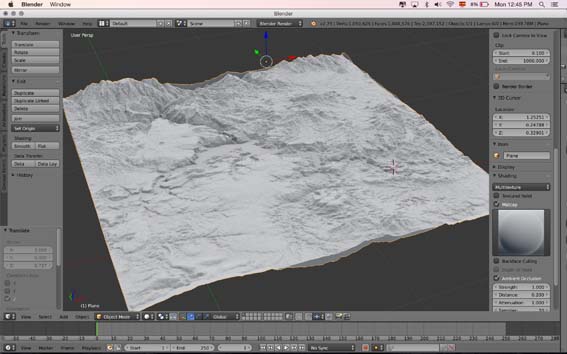
I watched a lot of tutorials on youtube and it took me at least one day or two to get familiar with blender, at least with the main controls and modeling and sculpting modes.
Finally I looked at a video tutorial that taught me how to import a PNG from a webpage called terrain.party, in this webpage you can chose an area expressed in squared Kilometers of any part of the world and it would give you a .zip file with different PNGs with the information embeded in the metadata.


After some steps in Blender, you import the image and it will displace a number of points in the y axis, making the topography you just chose. You can move the parameters and the strenght of this topography so it is as real or exagerated as you want it to be.
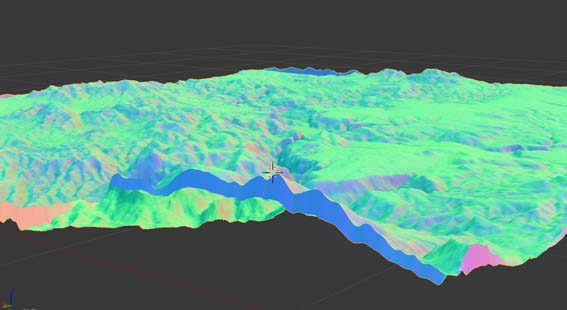
You can play with different materials and start rotating the model for mesmerizing results, I found this really pleasing and I played with it for at least a couple of hours. I would really like to learn how to animate this type of terrains as it can have really amazing results.


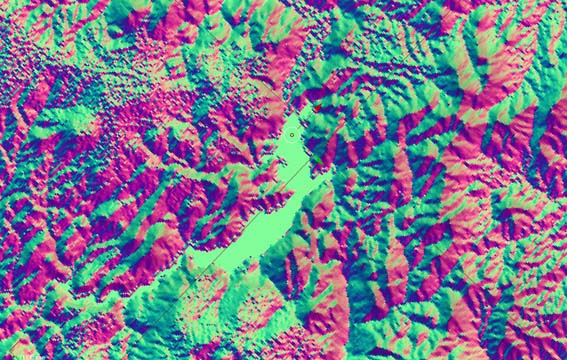
After playing for a while with this psychedelic model, I exported it as an .stl file. I had no problem opening it in the shop's computer and started placing it in the dimensions of our wax.


Parameters were very easy to understand thanks to the recitation from Tom, the software is pretty straight forward and it leads you step by step thorough the parameters. The last step felt really good as it shows you the simulation of what the machine is going to do.
Machining was very simple, after the experience with the bigger shopbot and CNC, everything ran very smoothly; until one of the walls from my model was eaten by the mill.


Turns out it can be tricky to place your origin correctly and I misplaced mine, as the pieces are rectangular my model was cut towards the y axis intstead than towards the x axis.
At the end it wasnt that bad but I had to fix it with a piece of cardboard.


Oomoo was really easy to mix and it smells deilcious, I decided not to vacum it and pur it directly; this came out pretty well even with my cardboard wall.
After it dried, one and half hours later, it came out pretty easily as the cardboard side helped me to take it out in a very simple way.


I milled two wax moulds, one had a steeper model than the other, turned out the inverse of the milling or the imprint in the Oogoo really showed how the mill works, I wonder how it would be if I used a round endmill. I really liked the result.

 Remember to be patient!


 I liked how this different translations of processes and materials keep leaving traces of their materiality or shape, the endmill's shape gave certain abstraction to a really highly defined model that then was traslated to Oogoo and finally to plaster.
I look forward to make a new one in metal as it will reflect more changes in color, reflections and even weight.
Good week!